Introducing the Observer Trigger & Presentation Mode! - Motion.page/GSAP
In this tutorial, Luke demonstrates how to use the powerful new Observer Trigger feature in Motion Page to create scroll-based and pointer-based animations across devices. This feature introduces Presentation Mode—Motion Page’s answer to fullPage.js—which enables seamless full-screen section transitions. The tutorial also covers practical use cases such as hover reveals, toggles, and sticky header interactions, offering a comprehensive overview of the Observer’s versatility in modern web design.
Steps
Setting Up Presentation Mode in Bricks Builder:
- Create a New Section and Containers: Start by building a blank page with a section and three containers, each set to full width and height (100vh), positioned absolutely.
- Add Backgrounds and Titles: Assign unique background images to each container and add heading elements with the class .p-c-title to label each slide (e.g., Slide 1, Slide 2).
- Apply Classes for Animation: Use a shared class such as .p-c on all containers to make them easy to target within Motion Page.
Configuring Presentation Mode in Motion Page:
- Create a New Timeline: Name it accordingly (e.g., “Presentation Mode”) and link it to your new page.
- Set the Trigger to Observer: Enable “Presentation Mode” and set the trigger to wheel or pointer depending on your device.
- Target Containers: Use the .p-c class as the target selector. Adjust transition settings such as direction (vertical/horizontal), speed, and repeat behavior.
- Animate Entry Effects: Animate titles inside each container by targeting .p-c-title with opacity transitions for elegant fade-ins.
- Preview on Front End: Confirm that each scroll interaction reveals a new section smoothly, using translate and opacity properties.
Implementing Observer-Based Button Reveal:
- Design Layout: Create a two-column layout with a hidden image behind a top image. Place a button beside it for interaction.
- Use Observer Trigger: In Motion Page, select “on hover” or “on press” to reveal the underlying image by animating the top image’s Y position.
- Configure Callback Behavior: Use callbacks like on hover end or on up/down to reverse animations or toggle elements for a dynamic feel.
Hiding and Showing Header Based on Scroll Direction:
- Sticky Header Setup: Ensure the header is set to position: sticky and top: 0.
- Use Observer Trigger with Scroll: Use on down to hide the header by translating it -100% out of view, and on up to reverse the animation and bring the header back.
- Optional Enhancements: Use conditional callbacks such as play next and play reverse to ensure the animation only runs once per scroll direction, avoiding janky behavior.
Conclusion
Luke’s tutorial offers a hands-on guide to leveraging the Observer Trigger in Motion Page—an incredibly flexible system for handling real-time events like scrolls, presses, and hovers. With features like Presentation Mode, scroll direction detection, and hover/click animations, this tool enables web designers to create fluid, intuitive, and high-impact interactions across all devices. Whether you’re building immersive slideshows or dynamic headers, the Observer trigger simplifies what used to require heavy JavaScript—now achievable natively inside Motion Page with precision control.
Video transcript
Hi guys, welcome back to the channel. My name is Luke, and in today’s video, I would like to show you one of our new implementations.
We recently added a new trigger to Motion Page called the Observer. The Observer is very convenient because you can track many events across many devices, such as scroll, hover, press—many different events like that. I’m going to show you some quick examples and how you can implement the Observer trigger into your projects.
Now, I will just say with the Observer trigger, we have also added our very own custom-made presentation mode. This is basically something like fullPage.js, where you can scroll with one notch and the whole section will change. I’m going to show you this first because it’s one of our biggest new features with the Observer plugin, and like I said, it is completely custom-built by the Motion Page team. The nice thing about this as well is it’s super simple to set up, as you will see. So let’s get right into this.
I’ve just made a blank page called “Observer Presentation Mode” and I’m going to edit this with Bricks. All we need for this is a section and three containers. Before that, I’m going to add a class to my container because we’ll use this class in Motion Page. I’m calling it p-c, short for “presentation container.” I’m going to make sure my section has no padding, because I want the containers to span the full width and height of the parent section.
On this class, I’m going to make the width and height 100%. On the wrapper, I can make the height 100vh. I’m also going to add a little padding to the container, in case I want to add content in there.
Now I’m going to duplicate the container three times. Next, I’ll set them to position: absolute. On the section, I’ll change its positioning to relative because the containers inside will be absolutely positioned.
Next, I’m just going to find some nice background images for each container. I’ve added backgrounds to each container, as you can see in the left panel—they each have different images.
That’s basically the setup. Very simple. We just have a parent wrapper, no class needed for Motion Page. The containers inside serve as our screens. I’ve added the class p-c and set different background images via the ID. That’s it.
Now let me show you the magic in the presentation mode.
In Motion Page, I’ll create a new timeline and call it “Presentation Mode.” I’ll target the newly created page. Before continuing, I’m going to remove the header. Typically, this feature would have the header set as an overlay. Just for demonstration purposes, I’ll get rid of the header, but I’ll enable it again in a second.
I’ve just turned my header into a single template so it doesn’t show here. Next, we need to select our new trigger—Observer. To access presentation mode, make sure “Trigger each iteration individually” is toggled on. Then you’ll see a new toggle—“Presentation Mode: Full Page Sections.” I’m turning that on. There’s also an optional toggle for infinite repeat—so if you keep scrolling, it loops infinitely through the sections. I’ll enable it for this example.
For the target selector, we can leave it as window, but I’ll target the class we created, since it takes up the full content: .p-c. That’s going to detect interaction on that class. Since I’m using a mouse, I’ll select “wheel” instead of “pointer.” For the direction, I’ll leave it vertical for now.
I’ll come down here to set an animation. Let’s animate .p-c so we can see the transition happening. When I scroll, you’ll see the effect—it’s looping infinitely.
To change it to horizontal, just select “horizontal” in the direction option. If you’re using a trackpad, horizontal scrolling will work by default. But if you’re using a mouse like me, you’ll need to check “Trigger on vertical scroll.” Now it will work as expected on vertical scroll.
Here we have more toggles: tolerance, wheel speed, transition duration. I’ll set the transition duration to 3 seconds, so it takes longer per scroll. Now, when I scroll, the slide transition takes a full 3 seconds. You’ll notice the slide fades out to the left—that’s because opacity is checked. If I remove it, the slides will always stay visible.
Translate is the effect that swipes left. If I remove that, it becomes an instant switch. You can see now that it’s instantaneous. Personally, I like to keep translate enabled. I’ll return the duration to 1 second.
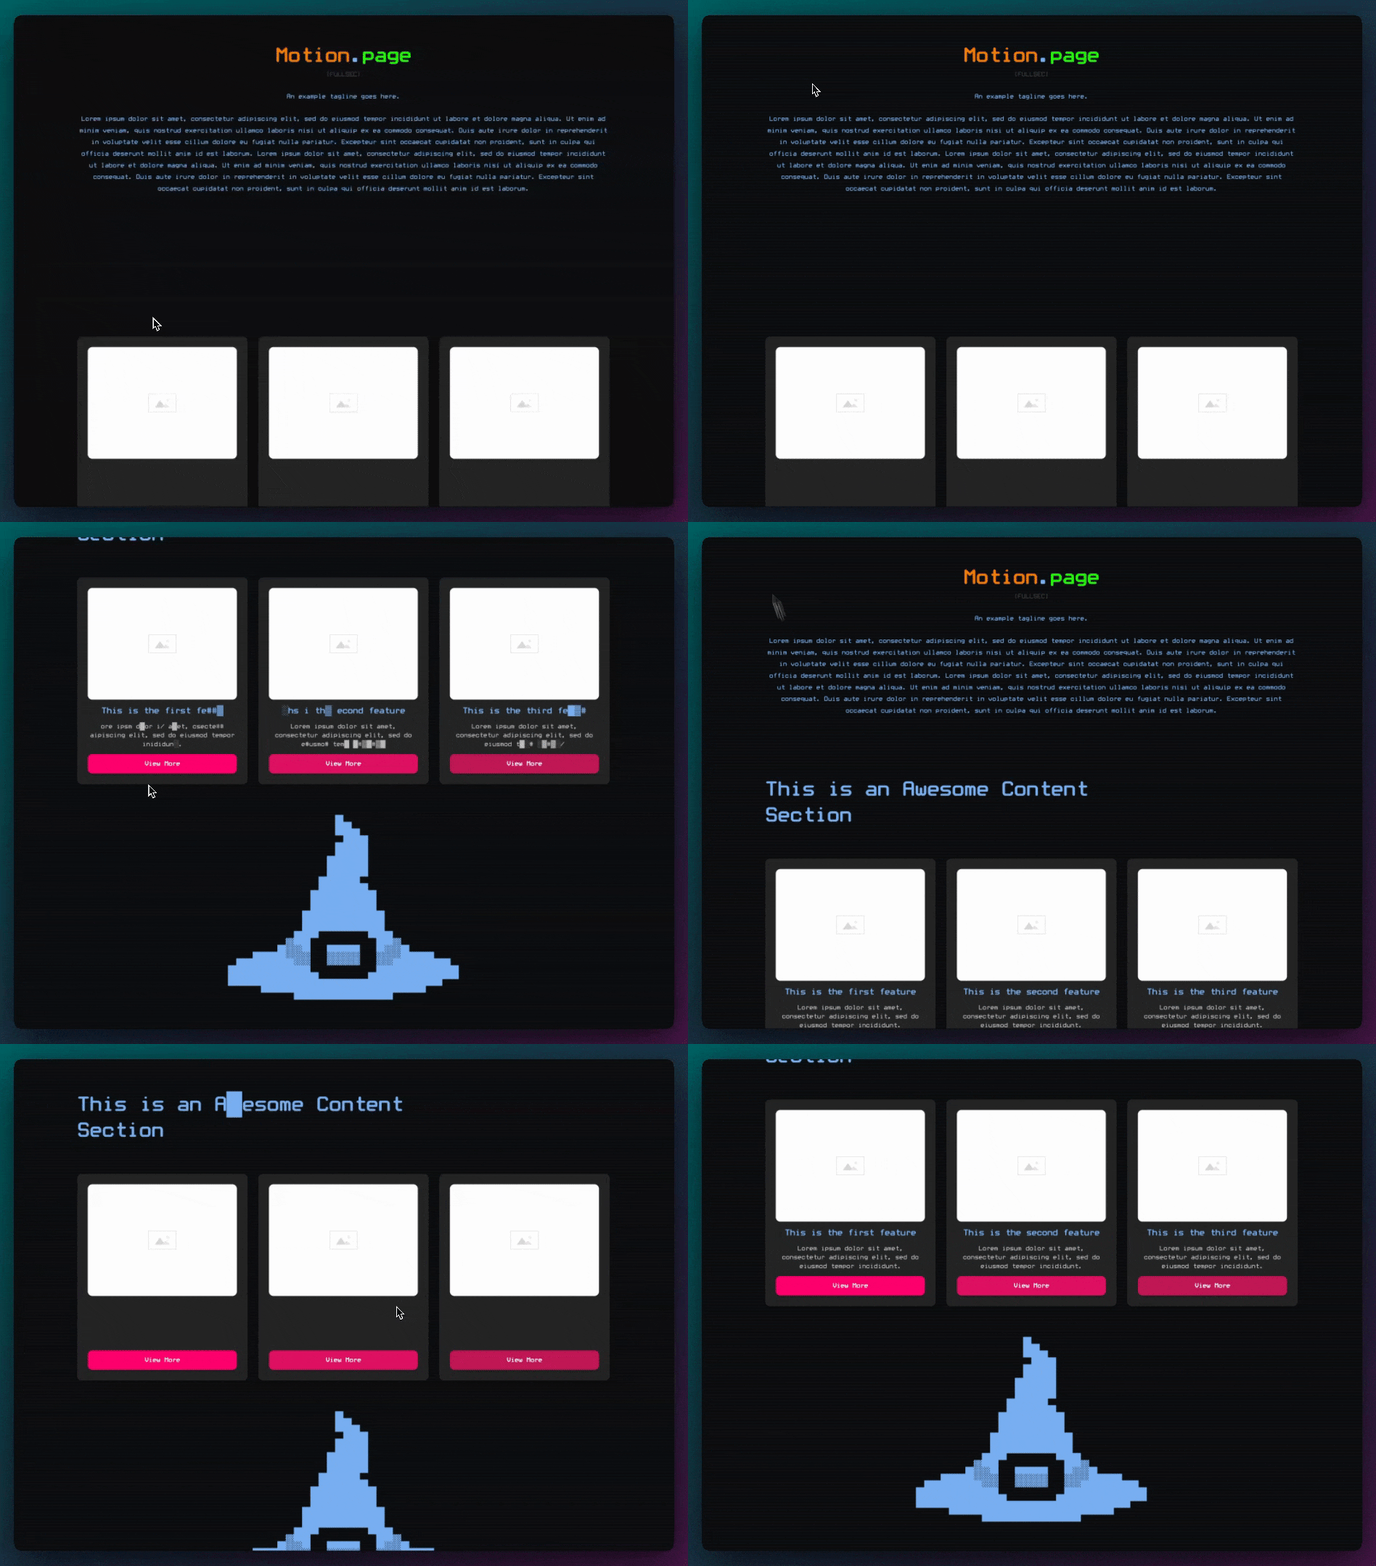
Back in Bricks, I’ll add a title in the middle of each container. I’ve added a heading to each container, given it the class .p-c-title. Slide one, slide two, slide three. Each has styling, and it’s already saved.
Back in Motion Page, I’ll refresh and now animate the .p-c-title from opacity 0 to 1. As I scroll, you’ll see it fades in. I can move it forward on the timeline as needed. It looks quite nice.
On the front end, you’ll see: slide one, slide two, slide three. You can animate any elements inside the containers, however you please. This was a very popular request, and once again, it’s a completely custom-built feature by the Motion Page team.
Next, I want to show you more features of the Observer trigger.
I’ve created a simple section: a title called “Observer,” and a two-column grid. On the left, I have an image wrapper set to overflow hidden. Inside that wrapper, there’s a background image with another image element sitting on top. If I hide the top image, you’ll see the one underneath.
With the Observer trigger, I want to hover over a button to reveal the image underneath. It could also be on click.
Let’s save and go to Motion Page. I’ll create a new timeline called “Observer Examples,” targeting the same page. I’ll go to Trigger > Observer. First, I’ll create an “on press” (click) event. When I press this button, I want to reveal the image underneath.
I’m targeting the button with the class reveal-button. I’ll choose the callback “on press.” When I press it, we’ll play an animation. I want the .observer-image to translate up, from Y 0 to -100%. Now when I click the button, the image reveals nicely.
Observer gives you a lot of callback options and is very flexible. I don’t like the one-way animation. Let’s switch to “play reverse.” Now it acts like a toggle—click once to show, click again to hide.
We also have “on hover.” Now I can hover over the button to reveal the image. We can add another callback, “on hover end,” to reverse the animation. So hover shows, unhover hides—very clean.
You can do the same thing with the button itself. For example, hover to fade it out and reveal another button underneath—like a “hide” button. You can animate all of this.
One more example: a real use case. A popular request is to hide the header when scrolling down and show it again when scrolling up. The Observer trigger is perfect for this.
I’ll create a new timeline called “Header Hide.” I’ll use the Observer trigger again. I want this to happen anywhere on the page, so I’ll leave the target as window. The event will be “wheel” and the callback is “on down.” When the user scrolls down, I’ll target the header and translate it -100% to hide it.
When I scroll down, you’ll see the header disappears. Then I’ll set another callback “on up” to reverse the animation. Now the header comes back.
I’ll make a quick edit in Bricks to make the header sticky: position: sticky and top: 0. Now it always remains at the top. In Motion Page, I decided to target the header element directly, translating it -100% when scrolling down. Now it works as expected.
On the front end, the WordPress admin bar can get in the way, but without it, everything works 100%. When I scroll down, the header hides. Scroll up, and it returns. This setup works really well with the Observer’s “on down play next” and “on up reverse” logic. It prevents repeat triggers unless the direction changes.
So, there you have it! This is an introduction to the Observer trigger. There are many callbacks and event listeners. I recommend creating a sandbox and playing around with it. It’s very fun. I had a lot of fun preparing this tutorial. If you have questions, please drop a comment below, and I’ll see you in the next video. Thank you very much!

