
Motion.page Timeline
One amazing feature which sets Motion.page above the rest, is the easily identifiable timeline that we are all familiar with from popular programs like After Effects and other video-editing software.
The timeline allows you to place animation nodes along it, which are essentially your page elements with animations attached to them. Each animation node on the timeline acts as an entity where you can then apply animations using the options to the left.
Better yet, these animation nodes can be placed along the x-axis of the timeline so that you can get the timing of the animation perfectly suited to your needs.
Let's take a look at the timeline:
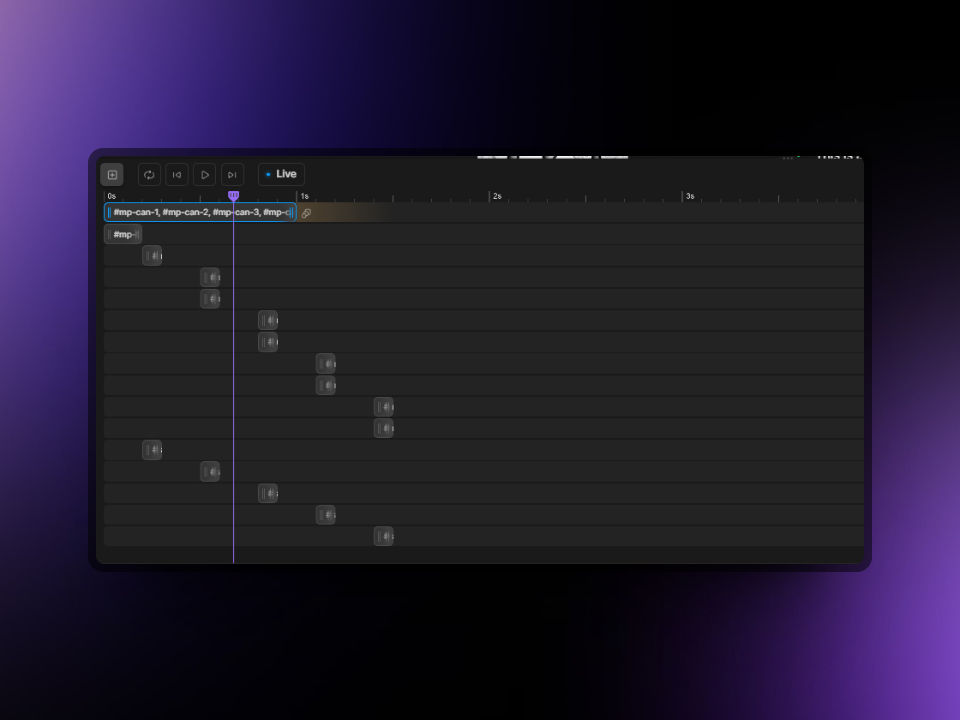
Timeline Buttons
Along the top of the timeline, we have 6 main buttons. Here's what they do in order from left to right:
- The first button allows you to add a new animation node to the timeline.
- The next button allows you to play the timeline in a loop
- The 3rd button will set your scrubber to the beginning of the timeline.
- The 4th button is the play/pause button, allowing you to play your timeline.
- The 5th button will send your scrubber to the end of the timeline.
- The last button - labelled "Live" - will give you an actual preview through the intended interaction so that you can see how your timeline will look as if it were on the front-end.
Animation Nodes
In our picture above, you will see quite a number of animation nodes set out on the timeline. These are essentially different animations set to different elements on your page. These animation nodes can be dragged along the x-axis and also resized to suit your needs.
Clicking on or adding a new animation node will allow you to access its Animation panel on the left. Whatever you set in here will be unique to the animation node you have selected. The Animation panel is where you can add an Animation Selector (here you can choose an element ID, a class, multiple, or practically any CSS selector) and apply animations using the various properties listed below!
You can right click on any of your animation nodes to access the menu to either Delete Animation, or Duplicate.
Other Features
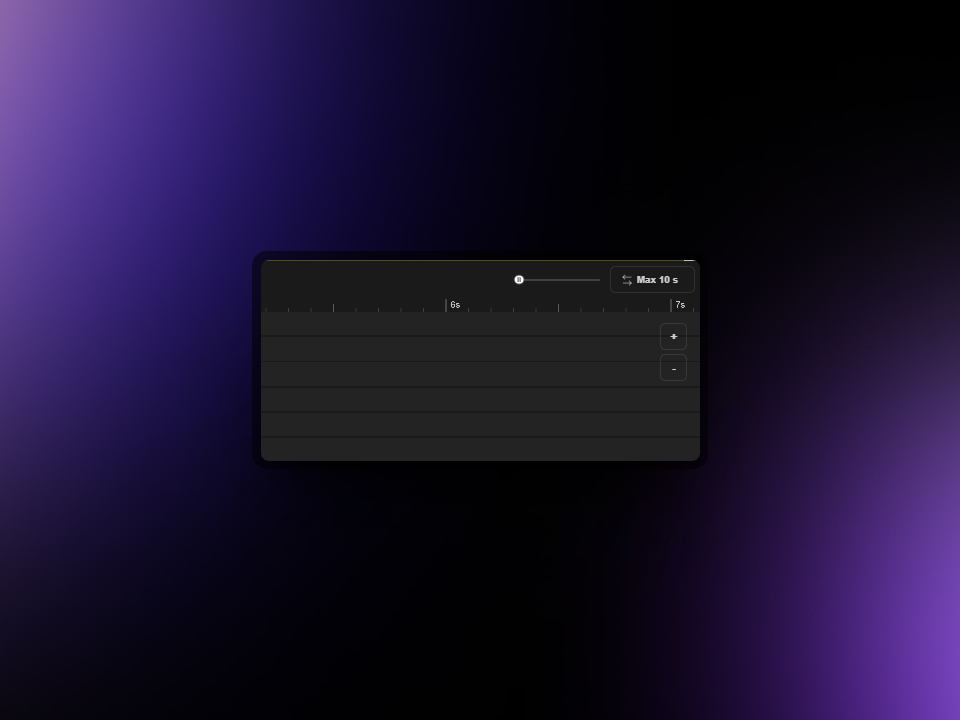
At the top right of the timeline, you will see a couple more small features. At the top, you will notice a mini slider which you can use to navigate the timeline beyond the seconds listed by default.
Next to that is a button which will allow you to change the total length of your timeline, this will increase in increments of 10 seconds and allows you to extend your timeline up to 60 seconds.
Finally, the plus and minus icons will allow you to zoom in and out of your timeline for more flexibility.

