
Functional / Advanced Features
We have incorporated a suite of advanced, in-demand features, enabling the creation of more captivating and complex animations for your websites. These enhancements are geared towards empowering designers and developers to push the boundaries of web animation, offering richer interactive experiences for users.
Lottie
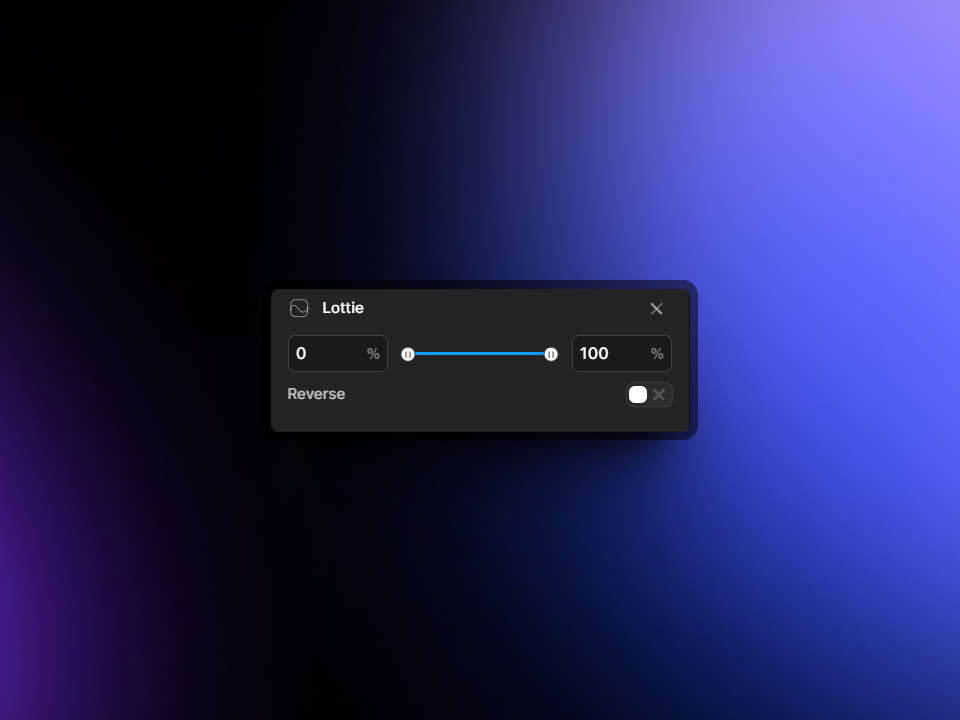
The Lottie feature in Motion.page offers a sophisticated level of control over Lottie animations embedded in your web pages. Through an intuitive slider interface, you can define the exact segment of the Lottie animation you wish to play by selecting start and end percentages. Additionally, there's the flexibility to have the animation play in reverse, providing a versatile range of motion graphics possibilities.
Image Sequence
The Image Sequence feature in Motion.page enables you to create visually stunning scroll-based animations reminiscent of those seen on high-end product websites like Apple's. This technique synchronizes an image sequence with the user's scroll, often used to simulate video-like animations that play as the user scrolls through a pinned section of the page. It leverages the ScrollTrigger plugin to pin the elements and play through an image sequence in canvas.
Getting started with Image Sequence
- Canvas Element: Start by adding a
<canvas>element to your webpage and target it with an animation node in Motion.page. - Image Sequence Settings: Upon selecting the Image Sequence in the Functional section, you will encounter various options to configure the sequence.
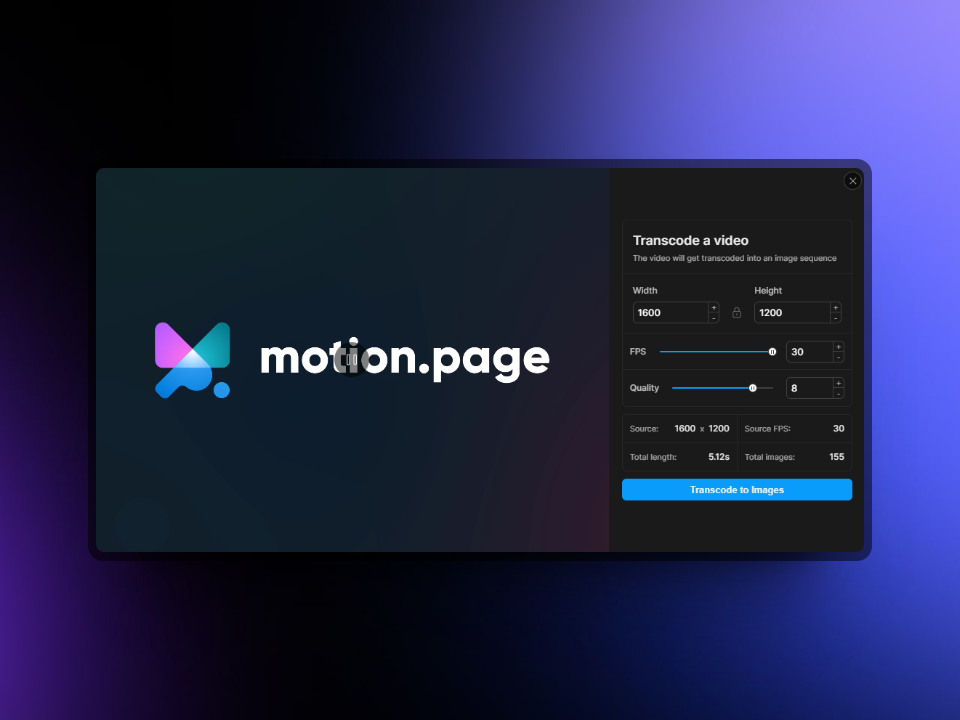
- Video Transcoding: One option is to transcode a video into an image sequence. In the transcoding popup, you can adjust settings like width, height, frames per second (FPS), and quality. After setting your preferences, clicking 'Transcode to Images' allows Motion.page to generate the image sequence from your video. Please see below for a screenshot of the Video Transcoding popup.
- Uploading Images: Instead of transcoding a video, you can directly upload images to create your sequence. Motion.page now supports .webp format images, which means you can include images with transparent backgrounds to enhance the visual appeal and integration of your animations with the website's design.
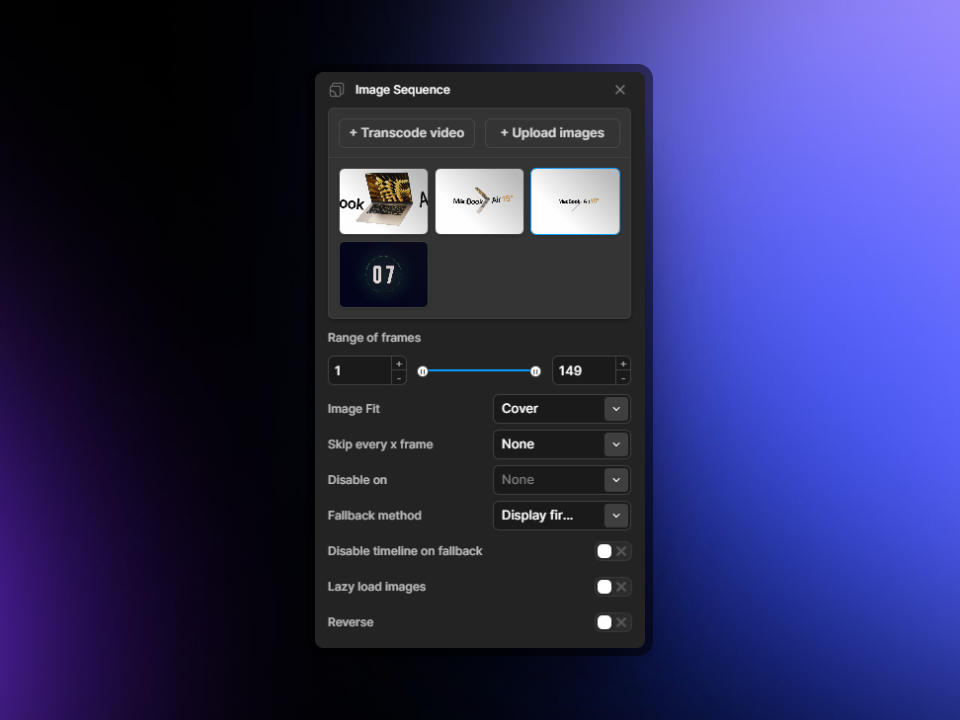
Once your video has been transcoded, you should now see it available under the Image Sequence tab. Simply click on the thumbnail, and this will be added to the <canvas> element on your page automatically.
Image Sequence Options
Range of Frames
This allows you to define a specific subset of frames from your image sequence for the animation, enabling you to fine-tune the part of the sequence that is played.
Image Fit
You can choose how images fit within the canvas area. The 'Cover' option ensures images fill the entire canvas, cropping excess parts without distorting the image.
Skip Every X Frame
For performance optimization, you have the option to skip frames within the sequence. This can reduce processing load and improve the experience on less powerful devices.
Disable On
This feature provides the ability to deactivate the image sequence under certain conditions such as slow network connections, specific browsers, or devices, ensuring better performance or compatibility.
Fallback Method
A fallback strategy can be set to activate when the image sequence is disabled. This could be a static image, a simpler animation, or another creative substitute.
Disable Timeline on Fallback
When a fallback is triggered, this option will disable the entire animation timeline, not just the image sequence, ensuring a coherent alternative is presented instead.
Lazy Load Images
To improve page load times, images in the sequence will only begin to load as they approach the viewport. An offset can be set to preload images just before they come into view.
Reverse
By enabling this, the image sequence will play backward, offering creative direction for storytelling or visual effects.
These settings provide a comprehensive toolkit for developers and designers to create sophisticated, performance-optimized image sequences tailored to various user interactions and technical constraints.
Split Text
The SplitText feature in Motion.page is a powerful tool for animating text. It deconstructs the text within an HTML element, wrapping each character, word, or line in its own <div>. This process facilitates intricate text animations, such as staggered fades or sequential character animations, which can add a dynamic layer to your web content.
Here's how SplitText enhances text animations:
- Individual Animation: It allows each text segment—whether it be a character, a word, or a line—to be animated independently.
- Browser Inconsistency Handling: SplitText is designed to handle the various ways different browsers may render text, ensuring consistent results across platforms.
- Recognition of Line Breaks: It smartly identifies line breaks in the text, maintaining the original structure while allowing each line to be animated separately.
- Customization: The tool is highly configurable, providing the freedom to tailor the animation to fit the desired visual effect or narrative pacing.
With SplitText, complex text animations that would typically require meticulous hand-coding can be implemented with ease and precision, opening up a realm of creative possibilities for web animations.
Using Split Text
To utilize the Split Text feature in Motion.page for animating text, you can follow these steps to get you started:
- Add an Animation Node: Begin by adding a new animation node within Motion.page.
- Target a Text Element: Select the text element from your webpage that you want to animate. This could be any element that contains text, such as a paragraph (
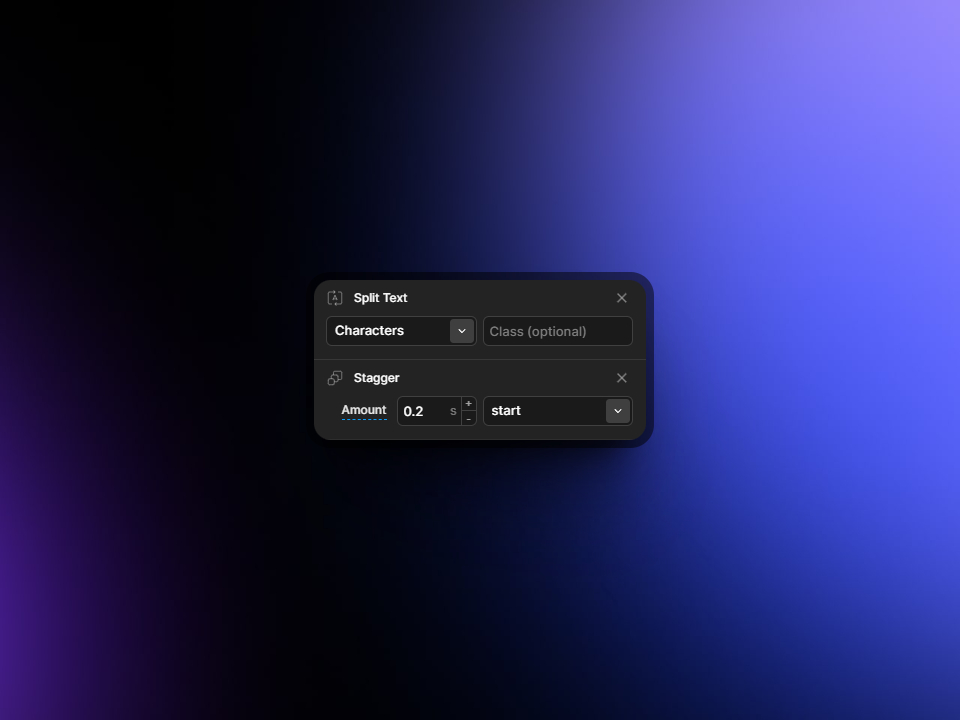
<p>) or heading (<h1>). - Activate Split Text: Click on the Split Text option while the node is selected. This action triggers the automatic division of the targeted text into individual components—characters, words, or lines—based on your selection.
- Configure Split Type: Choose whether you want to split your text by Characters, Words, or Lines. Each option provides a different level of granularity for the animation:
- Characters: Each letter animates individually.
- Words: Each word in the text element animates as a unit.
- Lines: Each line of text animates separately.
- Stagger the Splits: Navigate to the Stagger tab to set how the split text elements will animate. Staggering creates a sequence where each split element animates one after the other with a slight delay between them, adding depth and rhythm to the animation.
- Apply Animations: To visualize the staggered effect, apply additional animations to the animation node. This could include fades, slides, scales, or any other type of animation that Motion.page supports.
Stagger
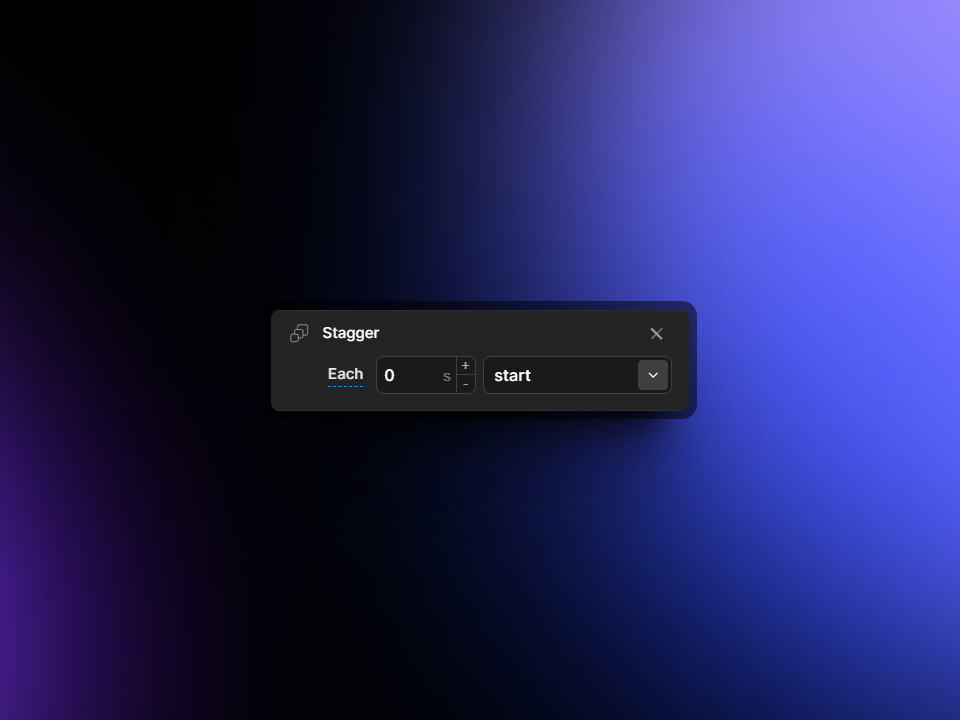
The Stagger feature in Motion.page is a versatile tool for creating sequential animations among multiple elements, adding a layer of dynamism and visual interest to your web pages. It works by introducing a delay between the animations of each target element, thereby creating a cascading effect. Here’s how you can configure the Stagger feature:
- Stagger Options:
- Each vs. Total:
- 'Each' mode applies a consistent delay between each element’s animation.
- 'Total' mode distributes the staggered delays across the entire set of elements, fitting within the total duration specified.
- Duration: Define the delay duration in seconds. This value determines the time gap between the start of each element's animation.
- Each vs. Total:
- Stagger Direction:
- You can choose the direction from which the stagger effect starts:
- Start: Animations begin from the first element and proceed sequentially.
- Center: Animations radiate out from the center element(s).
- Edges: Animations start simultaneously from the first and last elements, meeting in the middle.
- Random: Animations occur in a non-sequential, random order.
- End: Animations commence from the last element and move backward to the first.
- You can choose the direction from which the stagger effect starts:
The Stagger feature adds a sense of motion and rhythm to your animations, ideal for scenarios where multiple elements should catch the viewer’s attention in a controlled, yet fluid, sequence. It’s especially effective in galleries, lists, or any grouped set of elements where a coordinated but distinct animation for each item enhances the overall user experience.
Repeat
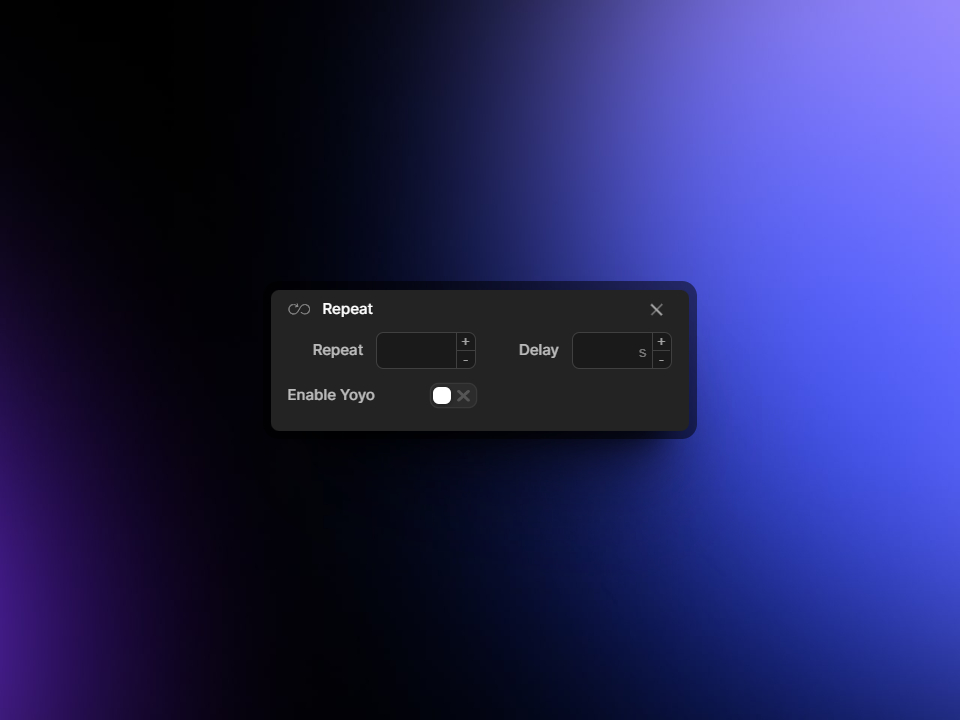
The Repeat feature in Motion.page allows you to loop animations for a specific number of times or infinitely, adding a rhythmic or continuous dynamic to your website's elements. Here's how you can utilize it:
- Set the Loop Count:
- Choose how many times the animation should loop. This can be any specific number you desire.
- Add Delay Between Loops:
- You have the option to add a delay in seconds between each loop. This creates a pause before the animation sequence starts over, which can be useful for pacing the user's experience or drawing attention to the animated element.
- Enable YoYo Effect:
- By toggling on the YoYo feature, each loop will reverse at its end, creating a back-and-forth or 'bouncing' effect. This means the animation plays forward to its end, then reverses back to the start, and repeats this cycle.
- The YoYo effect is particularly effective for creating engaging, eye-catching movements that keep users interested.
For an infinite loop, set the value to -1. This will cause the animation to repeat indefinitely, creating a continuous effect.
These settings in the Repeat feature provide a high degree of control over how animations loop and behave, allowing for creative and interactive design elements on your website. Whether you're aiming for subtle, rhythmic movements or continuous, attention-grabbing animations, these tools offer the flexibility to achieve your desired effect.
Transform Origin
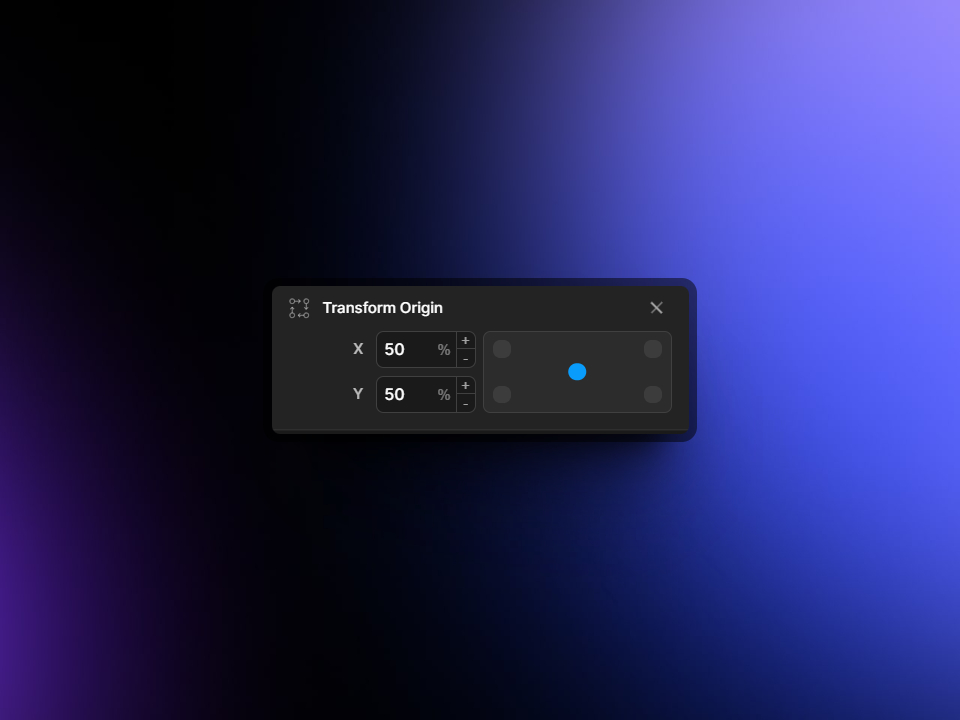
In Motion.page, the ability to set the origin point for transform properties like translate, scale, and rotation is a crucial aspect of animation control. This feature allows you to define the focal point from which these transformations occur, giving you precise command over the behavior and appearance of animated elements.
- Translate: By setting the origin point, you can determine the specific location from which the movement (translation) of an element starts.
- Scale: The origin point dictates where scaling begins and ends, influencing how an element grows or shrinks within the animation.
- Rotation: For rotational movements, the origin point becomes the axis around which the element rotates.
Properly setting the origin point is essential for achieving the desired visual effect in animations, as it significantly affects the movement trajectory and scaling behavior of elements.
MotionPath
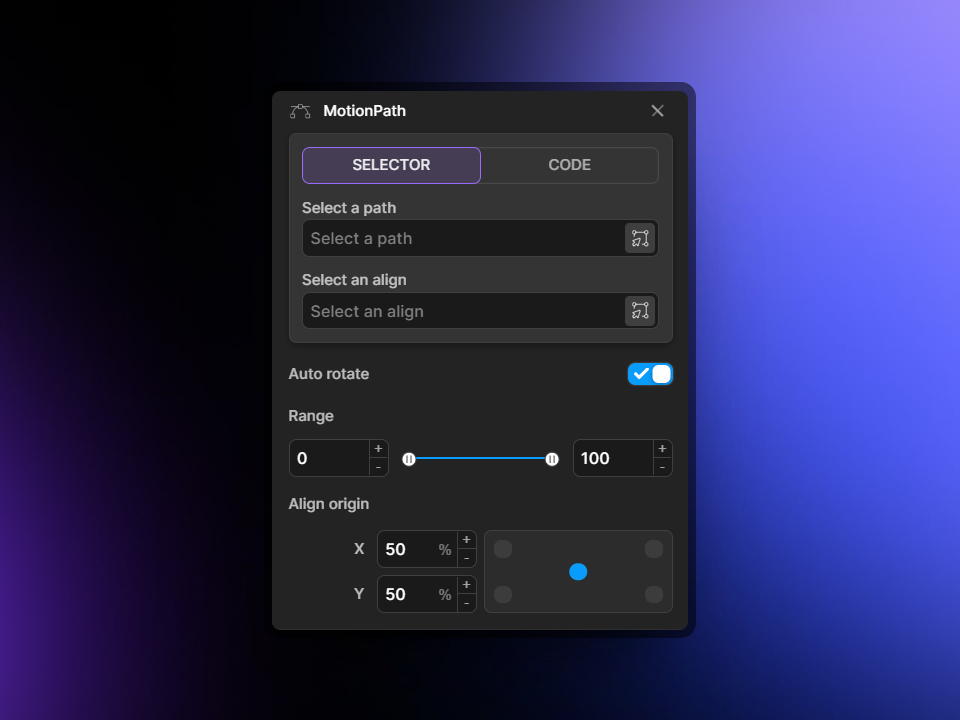
Animating elements along an SVG path in Motion.page adds a sophisticated level of movement and interactivity to your web designs. This feature is accessible through two main methods: Selector and Code.
Selector Method:
- This option lets you animate elements along any existing SVG path on your page.
- Utilize the selector scanner provided by Motion.page to easily select the desired SVG path.
- The align element feature in this method allows you to adjust the positioning of your target element in relation to the path. You can specify a selector or use 'self' to align the target directly on the path.
Code Method:
- With this approach, you can animate elements along a path by inserting raw SVG path code.
- This is especially useful when you have a specific path that isn't already part of the page's SVG content.
Auto Rotate:
- Enabling 'Auto Rotate' causes the target element to rotate automatically following the direction of the path, adding a more dynamic and realistic movement. This feature is activated by default.
Range Specification:
- You can define the start and end points of the animation on the path by setting progress values from 0 to 100. This allows for partial or complete traversal of the SVG path.
Align Origin:
- This setting lets you determine the exact point on the target element that aligns with the path. This precision alignment control is crucial for ensuring the element follows the path as intended.
These versatile options for animating along an SVG path enable designers to create intricate and visually appealing animations that follow complex trajectories, enhancing the user experience and engagement on the website.
Ease
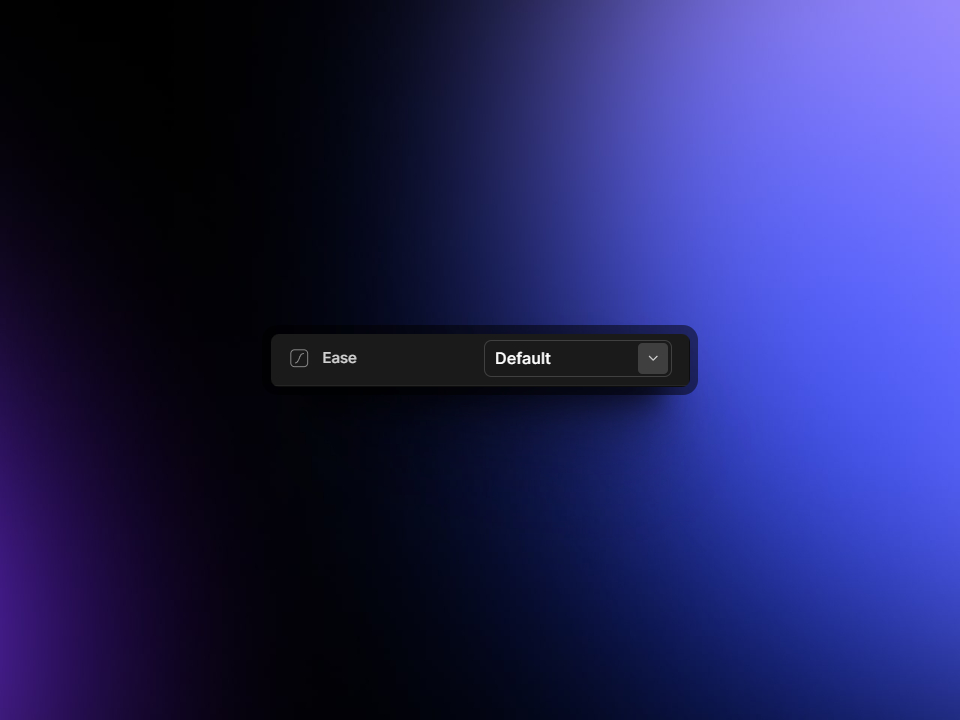
In Motion.page, setting the ease style of an animation is a crucial aspect of defining its character and flow. The ease style determines how the animation progresses through its duration, impacting its acceleration and deceleration patterns.
- Ease Styles: Motion.page allows you to select from a variety of predefined ease styles. Each style offers a unique effect, ranging from smooth and gradual transitions to more abrupt and dynamic movements.
The ability to set and customize the ease style provides a powerful tool for animators and designers to craft animations that not only capture attention but also align seamlessly with the overall aesthetic and user experience of the website.
It's important to be aware that if you encounter issues with animation speed or synchronization in Motion.page, the cause might be related to the type of easing applied to your animations. In such cases, setting the ease to 'none' is a recommended troubleshooting step. This change can often resolve problems related to animations not behaving as expected, as it removes any acceleration or deceleration effects, ensuring a consistent animation speed throughout.
Animate SVG
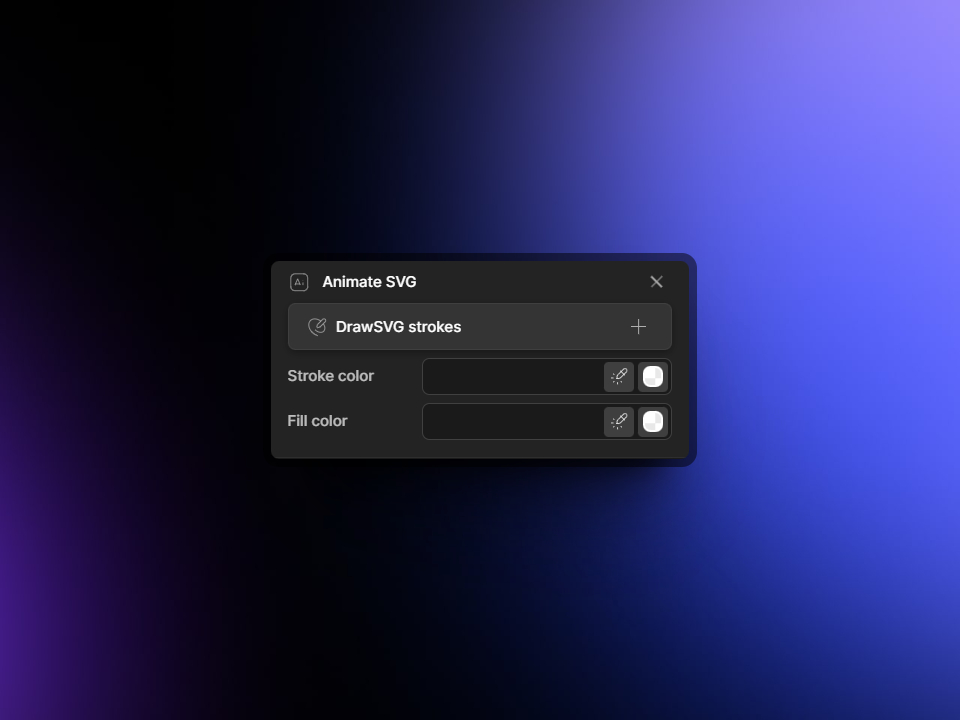
Animating SVG icons and illustrations in Motion.page can add a dynamic and engaging visual aspect to your website. The platform offers tools like DrawSVG for stroke animations and options to alter stroke and fill colors, enhancing the versatility of your SVG animations.
DrawSVG Strokes:
- This feature allows for the progressive revelation or concealment of SVG strokes.
- By adjusting two values, you can define the starting and ending points of the animation along the stroke of the SVG. This creates an effect where the stroke appears to draw itself or erase in real-time.
- The animation can be configured to start and end at any position along the stroke, with the default being either 0% - 0% (fully hidden) or 100% - 100% (fully revealed).
Color Changes:
- Beyond stroke animation, you have the capability to change the colors of the stroke and fill of the SVG.
- This feature can be used to create a color transition effect, adding an extra layer of animation and making the SVG more dynamic and interactive.
These options provide significant creative freedom in animating SVG elements, allowing for intricate and visually striking effects that can enhance the storytelling and user experience on your website.
Custom Fields
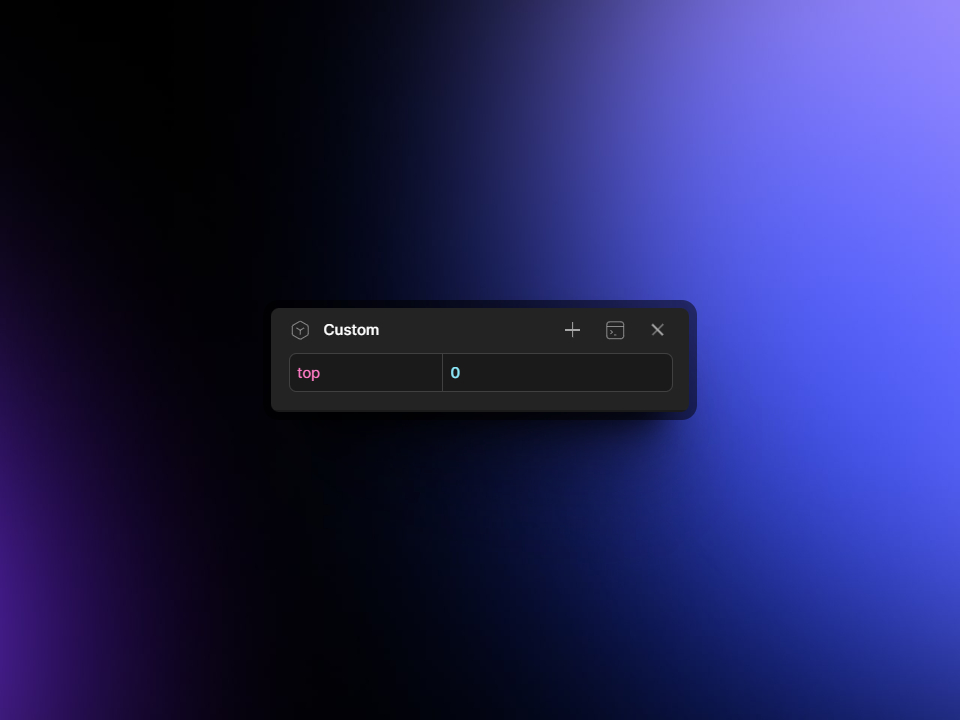
Motion.page offers extensive flexibility beyond the standard properties listed in the Animation section, allowing you to incorporate any CSS property to tailor your animations. This level of customization ensures that your creative vision isn't confined by default settings.
Custom CSS Properties:
- Utilize the custom box to add any CSS property, enabling you to animate virtually any aspect of an element's style.
- This feature is particularly useful for achieving specific visual effects or behaviors that aren't covered by the standard set of animation properties.

